Showing posts with label In the Kitchen. Show all posts

05 June 2012

Making Homemade Pretzels and Cheese Sauce

 Jacob and I thought it would be great fun to make soft pretzels! We always enjoy working together in the kitchen, and soft pretzels are a delicious treat...so it was a win-win!

 Pretzels

 Ingredients:
1 1/4 c. warm water
1 tsp. yeast
1/4 c. brown sugar
3 1/2-4 c. flour

1/2 c. baking soda
3 c. hot water

coarse kosher salt

Directions:
Preheat oven to 450 degrees. Dissolve the yeast in warm water. Add in the brown sugar and flour and mix well. Let rise till doubled in size.

Roll out dough into ropes. To shape into pretzels, I took the ends and twisted them together.


Add baking soda to hot water. Dip pretzels into this mixture. Then sprinkle with kosher salt.

Bake for 7-8 minutes.


Cheese Sauce


Ingredients:
2 T butter
2 T flour
1 tsp. salt
1 c. milk
1 c. shredded cheese (I use colby jack or cheddar)
1 tsp. prepared mustard
salt and pepper to taste
1/2 tsp. crushed red pepper (optional, but we like a little kick)

Directions:
In a medium saucepan, melt butter. Mix in flour and salt. Stir continuously until simmering. Slowly pour in milk. Continue stirring over medium heat until thickened. Stir in cheese and mustard. Continue stirring until all of the cheese has melted. Serve warm.

We will definitely be making these again soon!

With Love,

01 June 2012

National Donut Day!

 What's a girl to do on National Donut Day? Why, make donuts, of course! I decided to make baked donuts, since I didn't really want to pull out the deep fryer. Plus, since they're baked, they're healthy, right? Ok, maybe not so much. But, it was worth a try!

We made Baked Blueberry Donuts. My trusted kitchen helper put together the batter for me.

 Baked Blueberry Donuts

Ingredients:
1 c. flour
1/2 c. sugar
1 tsp. baking powder
1/4 tsp. salt
1 tsp. cinnamon
2 T milk
2 eggs
3 T oil
2 T water
1/2 c. blueberries

Directions:
Preheat oven to 325 degrees.

Mix dry ingredients together. Crush berries in a separate bowl with a fork. Mix together milk, eggs, oil, blueberries, and water. Pour liquid mixture into dry mixture and stir till just combined.

Pour into donut pan. I actually didn't have a donut pan (shocking, I know!), so I used my mini bundt cake pan. It worked just fine!

Bake for 16-18 minutes.

 While the donuts are cooling, make the glaze.

Glaze

Ingredients:
1 c. powdered sugar
1 tsp. lemon juice
water

Directions:
Mix together powdered sugar and lemon juice. Add 1 tsp. water at a time until drizzling consistency is reached. Drizzle over cooled donuts.


My crowd of hungry boys thoroughly enjoyed National Donut Day. We will have to do this again next year!

Blessings,

29 May 2012

Baking For the Freezer

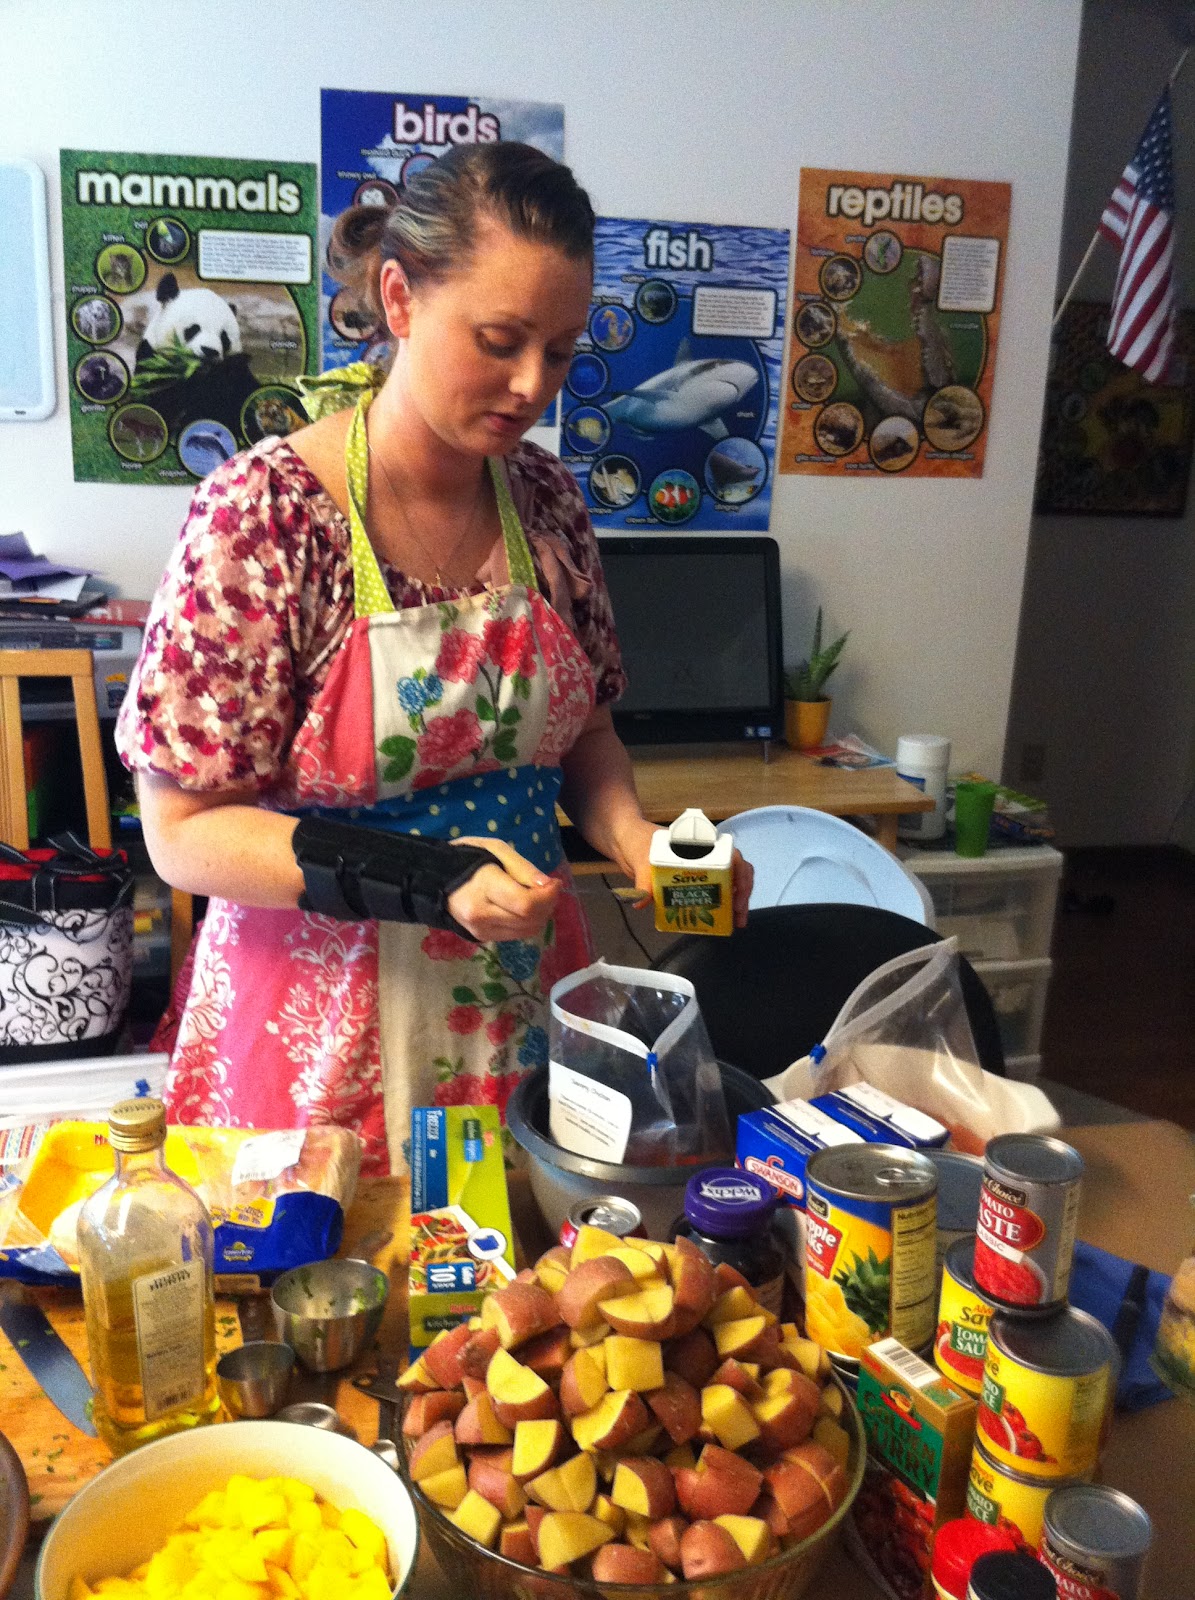
 Saturday I spent the day bulk cooking with a friend. We made crock-pot freezer meals, which I have planned to use mostly for noon meals. That way I can just dump the bag into the crock-pot early in the morning, and we have a nice hot meal ready in the middle of the day...no matter how busy it's been!


This fantastic idea made me realize that it would be easy to solve the other problem spot in our day- breakfast. So, I decided to bake up a storm and fill my freezer! We also made a couple of non-breakfast items that will help out with menu planning.

Here's what we made:


Dinner Rolls
Apple Breakfast Bars
Granola
Pizza Dough

I've already gotten a lot of requests for recipes from posting about this on Facebook- I'll try to get the other recipes up very soon!

It was a great feeling to get so much accomplished. I'm also truly thankful for the world's greatest sous chef!


To store my baked goods, I wrapped them in a double layer of plastic wrap, and then a tight layer of aluminum foil. I also labeled them with the contents and date. 

There's really two ways I defrost them. If I'm not in a hurry, I'll pull out what I need the day before and just let it thaw out overnight. Then I can just reheat. But, if I need something right away, I do use the microwave. Surprisingly it tastes just as fresh as it did when first baked! 


I'm sure I'll be doing much more of this in the future. I'm so thankful for these little tools to keep my home running smoothly!

Crock-pot Freezer Cooking with a Friend

 My friend Christephi and I got together this Saturday to put together crock-pot freezer meals for our families. I hadn't heard of this concept until recently, and I was quite eager to give it a try! I've found myself getting busier and busier as the children are getting older, and as schooling takes up more and more of my time. I knew that the crock-pot was about to become my new best friend- but this idea makes it even more efficient!


The idea is rather simple. You assemble all of the ingredients for the recipe into a freezer bag. That's it. For the recipes Christephi had chosen there was no precooking involved. We simply chopped and diced all of the vegetables, and then placed all of the ingredients into a labeled freezer bag.


Here's what we made:
Healthy BBQ Chicken
Goulash
Chicken Curry
Teriyaki Chicken
Savory Chicken
Busy Day Stew
Sweet & Tangy Meatballs
Savory Vegetable Beef Soup
Cilantro Lime Chicken with black beans and corn

Shopping by the ingredient list for the recipes, the total cost was right at $200, or about $10 a meal. This is more than I'd typical spend for something like this, but now that I've seen how the recipes go together, I think I could do it again for much less.


Now that I've learned all about this idea, I'm excited to see what else I can do with it. This is something I'll definitely be doing more of in the future! 

s

Bulk cooking is definitely more fun with a friend! It was such a blessing to be able to put away so many meals for our families. Be sure to check out my friend's blog where she will be sharing links to the recipes that we used!

Pax Christi,

20 October 2011

Jalapeno Poppers


We were blessed with the excess peppers from a friend's garden this week. She had called to ask if I'd like two gallons of peppers...it ended up being several very full grocery bags worth! So, what to do with all of these peppers? We had already made hot pepper jelly, and thought making poppers for the freezer sounded like just the right idea.

My friend Linda shared her recipe with me. They are delightfully yummy, and easy to freeze for a great snack to have on hand.

Ingredients:
1 lb. jalapenos
1 pkg. cream cheese
2 c. shredded cheese
6 strips of bacon, fried and crumbled
1/4 tsp. chili powder
1 tsp. salt

cracker crumbs for rolling

Directions:
Slice jalapenos lengthwise and remove seeds.

Mix together cream cheese, shredded cheese, crumbled bacon and seasonings. Fill jalapenos with cream cheese mixture.

To freeze:
Place on baking sheet and put in freezer. Once they have frozen individually you can place them in a freezer bag to store.

When ready to cook: defrost and then roll in crushed cracker crumbs. (the crumbs really only stick to the top part)

Bake at 300 degrees.
20 minutes for hot poppers
30 minutes for medium poppers
40 minutes for mild poppers

In His Precious Name,

13 October 2011

Pumpkin Pie Oatmeal


A friend of mine had mentioned making pumpkin pie oatmeal and I thought it sounded like a breakfast treat that my little clan would enjoy. The result was a warm and delicious Fall breakfast!

Here's what I put together:
6 c. water
3 c. quick cooking oats
1 c. pumpkin puree
6 T brown sugar
1 1/2 tsp. pumpkin pie spice

It was taste-tested by all of the Goodman men, and they approve!

With Love in Christ,

17 August 2011

Canning Peaches

What do you do with seventy five pounds of peaches? Why, can them of course! :)


Jacob helped me to peel the first half bushel. (Don't throw out those peels, we can use them later for Sunrise Jelly!)


After peeling, simply slice the peaches as desired. I like to slice mine in slightly smaller pieces than store bought canned peaches since we are in the "young children" phase of life and I'd need to slice them again before giving them to my "littles". (When slicing, save those pits, too! Just add them to the bowl with all of the peels.)


Prepare jars and lids as usual for water bath canning.


You'll want to treat the peaches to prevent browning after they are canned. You can use a product like Fruit Fresh, or you can use a solution of lemon juice and water. I use 1 T of lemon juice per cup of water.


While the peaches are soaking, prepare the syrup. I make a light syrup using 9 c. of water and 2 1/4 c. of sugar. Bring to a boil, stirring to dissolve the sugar. Reduce heat and keep at a simmer.


Drain the peaches and place into the simmering pot of syrup. Bring to a boil. Boil for five minutes and then remove from heat.


Fill hot jars with hot fruit mixture. Leave 1/2 inch of headspace. Remove air bubbles by sliding a spatula along the inside of the jar and gently pressing against the peaches. Using a damp cloth, wipe the rims of the jars. Place lids and rings on jars.


Process for 25 minutes in water bath canner.


Delicious home canned peaches to enjoy all Winter long!


In Him Who First Loved Us,


16 August 2011

Canning Peach Pie Filling

Prepare lids and jars as usual for water bath canning.


Ingredients:

6 qts of sliced peaches

7 c. sugar

2 c. plus 3 T Clear Jel

5 1/4 c. cold water

1 tsp. cinnamon

1 3/4 c. lemon juice (plus lemon juice for soaking)


We had frozen a 25lb. box of peaches (we ended up using all of these for this recipe!) due to not having enough time to can them immediately. Rick had read about a neat trick to peel frozen peaches. I have to admit that I was skeptical, but it worked like a charm! Simply hold the peach under cold running water and rub gently. The skin comes right off!


After peeling, simply slice to the size you want for your pie filling, and remove pits. Soak sliced peaches in water and lemon juice (or a product like Fruit Fresh) to keep them from turning brown. I use a solution of 1 T of lemon juice per cup of water.


Combine water, sugar, Clear Jel and cinnamon into a large kettle. Stir and cook over medium high heat until the mixture thickens and begins to bubble.


Add lemon juice and boil for one minute more, stirring constantly.


Add in drained peaches, and heat mixture for three minutes. (Note- I had to change kettles due to a slight miscalculation on the size I'd need. Oops!)


Fill hot jars, leaving one inch of headspace. Gently tap jars to remove air bubbles. Wipe the top of jars with a damp cloth to clean, and then place lids and rings on the jars.


Process for 30 minutes in a water bath canner.


The final result is a delicious peach pie filling that will be such a blessing all Winter through!


**From the half bushel that we used for this recipe, we yielded 8 qts. of pie filling. **


14 July 2011

Corn Cob Jelly

This time of year sweet corn is everywhere we look. We're surrounded by corn. Fields of corn or soybeans seem to line every road and highway around. Delicious creamed corn has become a staple on our menu!

So, then what to do with all of the leftover cobs (aside from letting the little one play with them)? I saw this recipe for Corn Cob Jelly and just had to give it a try! The result is a delicious jelly that tastes just like honey.

I do believe we've found a new tradition to our Summer...making creamed corn for the freezer and corn cob jelly for the pantry!


*Warning* This recipe does contain an unreal amount of sugar!

Ingredients:
24 cobs of sweet corn
8 cups of water
2 boxes of powdered fruit pectin
8 cups of sugar
yellow food coloring (optional)

Directions:

While preparing the recipe, heat jars and lids as you would for any water bath canning recipe.
Use cobs after the corn has been cut off for another recipe. Place cobs and water in a large stock pot. The water will not cover the cobs, but this is fine. Bring to a boil.
Boil for ten minutes.
Remove cobs and throw away.
You should have about 6 cups of liquid. You can add water if you are short.
Return the water to the stock pot and add the pectin. Bring to a full rolling boil.
Add sugar and return to a rolling boil. Boil for one minute.
Remove from heat and skim the foam from the top. You can reheat this foam to make a little extra jelly for the refrigerator.
Pour hot jelly into hot jars. Place the lids and rings on.
Process for ten minutes in a water bath canner.
Add a few drops of yellow food coloring.

In Him Who First Loved Us,

06 July 2011

Porcupine Meatballs

I promised several friends that I would share my recipe for Porcupine Meatballs. This dish seems to be quickly becoming one of my "signature dishes"!

My version is slightly different than the traditional recipe, with an addition of crushed red pepper and a few other things for an added kick of flavor. The uncooked rice gives the meatball a delicious texture. This recipe will feed your average Mennonite family, or a small crowd. :)

Ingredients:
2 lbs. ground beef
4 slices of white bread (I've used both my Amish Loaf Bread and Potato Bread with great success)
2 eggs, beaten
1 1/2 c. milk
1 onion, finely chopped
1/2 c. rice, uncooked
2 tsp. salt
2 tsp. garlic powder
1/2 tsp. crushed red pepper
1/2 tsp. (or so) black pepper
4 c. tomato juice
1/4 c. Worcestershire sauce
Preheat oven to 350 degrees

Directions:
Tear bread into pieces and place in a small bowl. Pour the milk over the bread. Soak for a minute until bread disintegrates. Add eggs and mix again with a wire whisk until well integrated. Set aside.
Mix together tomato juice and Worcestershire sauce and set aside.
Grease two 9x13 casserole dishes.
In a large bowl, mix together the remaining ingredients. Add milk mixture. Using hands (you will get messy!) mix together and shape into meatballs. Place into greased casserole dishes.
Pour sauce over the top.
Cover with aluminum foil and bake for 1 hour. Remove foil and continue baking for 30 minutes.

These meatballs go beautifully with mashed potatoes!

Blessings,

07 June 2011

Strawberry Freezer Jam


One of my dear friends, Sadie, has given us her excess strawberries this year. She said she already has a good supply put back in her freezer, and she knew that our plants wouldn't produce this year with it being their first year. So far she has given us ten gallons! What a blessing!

We are making freezer jam this week with our berries. The recipe is surprisingly simple, and simply delicious!

I decided to use clear gel (not the instant variety) rather than pectin, since you can adjust the amount of sugar with better results. Clear gel also freezes nicely, without leaving a gummy taste.


Ingredients
4 c. crushed berries
1/4 c. lemon juice
1 1/2 c. sugar
7 T clear gel


Directions
Place berries and lemon juice in pot. Combine clear gel with 1/4 c. of the sugar and add to berry mix. Bring to a boil, stirring constantly.


Add the remaining sugar. Boil for one minute, continuing to stir constantly.


Pour into freezer safe containers.


*Note* You can also can this recipe. Pour into jars, leaving 1/4 inch headspace. Process for ten minutes in a boiling water bath.


In His Name,